Custom EVA Foam Inserts Guide for Cases and Packaging
This EVA foam insert design guide explains how to plan a protective, well-fitted insert that organizes accessories and controls product presentation inside a case, carton or reusable kit. A successful insert is not simply a cavity cut into foam: it must match the product, the outer container, the handling risks and the way the user loads and removes each item.
For buyers sourcing custom EVA foam inserts, material selection, cavity design and processing methods all affect the final result.
Information needed before design
- Product and accessory drawings or measured dimensions
- Weight, center of gravity and fragile areas
- Case or carton interior dimensions
- Preferred product orientation and removal method
- Expected handling, shipping and storage conditions
- Quantity, color, branding and packing requirements
If a finished CAD model is not available, clear photographs and physical samples can support the first review. Final dimensions, tolerances and revision control should still be recorded in an approved drawing or specification.
Material selection: density, hardness and thickness
The insert material should be selected according to the product weight, available space, required cushioning and desired presentation. Density and hardness are different specifications; neither should be chosen alone. Thickness determines how much material can support the product and how deep a cavity can be cut.
Review the EVA foam density guide and compare representative samples when fit or cushioning is important. The highest density is not automatically the best option for every product.
Cavity fit, clearance and removal
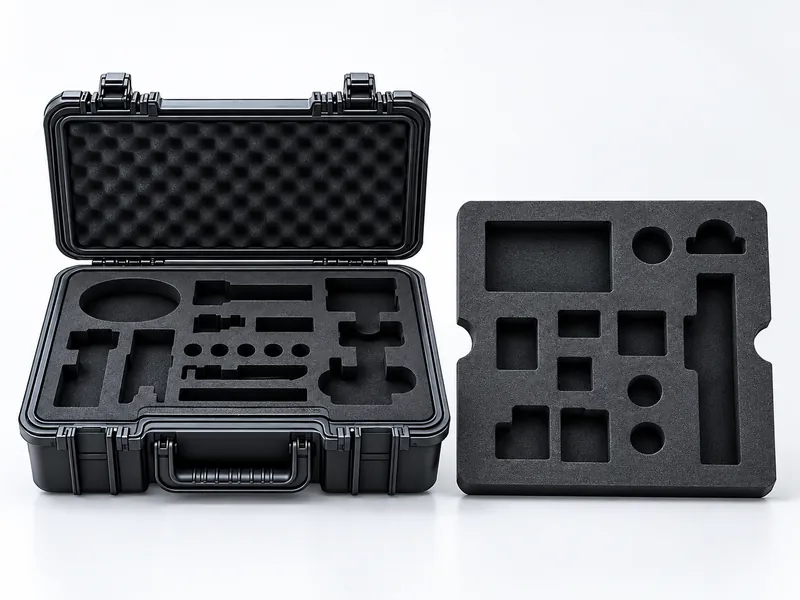
The cavity should locate the product without creating damaging pressure or making it difficult to remove. Allow appropriate clearance around buttons, connectors, sensitive edges and parts that vary in production. Finger notches, pull tabs, ramps and lift points can improve access.
| Design point | Questions to confirm |
|---|---|
| Product fit | How much movement is acceptable, and which surfaces may contact the foam? |
| Removal | Where can the user grip the product without pulling on a fragile component? |
| Accessories | Should cables, tools or spare parts have separate labeled cavities? |
| Case closure | Will the lid or top pad apply controlled pressure without deformation? |
| Orientation | How will the case be carried, stored and opened? |
Single-layer and laminated inserts
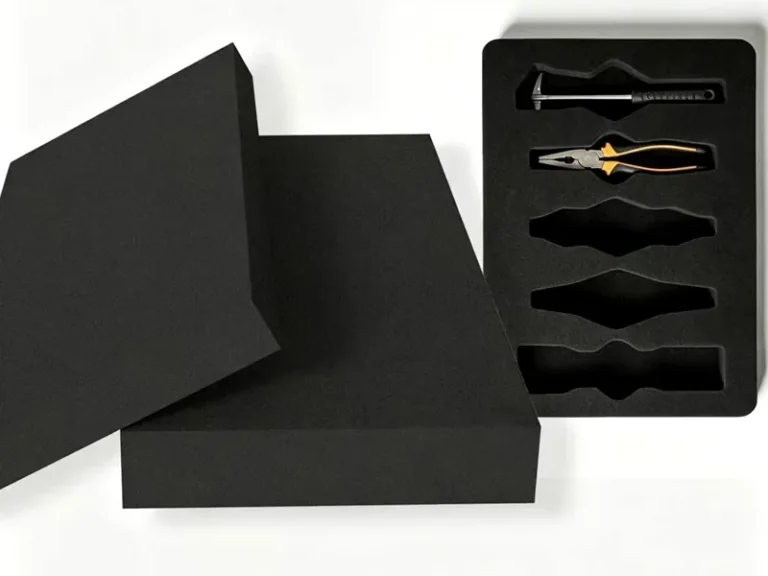
A single layer can suit simple shallow profiles. Laminated constructions support deeper cavities, contrasting colors, multiple functions and more complex organization. A base layer may close the bottom of a routed cavity, while a contrasting upper layer can improve presentation or visual control.
- Confirm layer thicknesses and finished overall height
- Select an adhesive compatible with the foam and expected use
- Check layer alignment and exposed glue during sampling
- Record color and surface requirements for each layer
- Confirm whether the insert will be permanently bonded into the case
CNC routing or die cutting?
CNC routing is often considered for prototypes, controlled-depth pockets and deeper three-dimensional cavities. Die cutting can be efficient for repeat two-dimensional profiles and suitable production volumes. Some inserts combine multiple processes, such as die-cut layers laminated into a deeper construction.
The drawing, cavity depth, tolerances, edge appearance, quantity and tooling requirements determine the practical route. Compare CNC vs die cutting for EVA foam, then review our custom processing options.
Surface, color and branding options
Projects may use different colors, surface textures, printed graphics or logos depending on the selected material and presentation requirements. Contrasting layers can help identify missing tools or accessories. Confirm color and appearance on a physical sample because screens and lighting do not provide a reliable production reference.
Case, tray and carton integration
The same insert concept may be developed for a hard case, soft case, presentation box, shipping carton or reusable tool tray. The outer container must be confirmed before the insert is finalized because wall shape, lid clearance, hinges, handles and internal fittings can change the usable space. For reusable organization, compare a custom EVA tool tray with a custom EVA case insert and select the structure that matches the loading and handling method.
Prototype and approval checklist
- Load the actual product and every required accessory.
- Check fit, movement, removal and clearance around fragile parts.
- Close and carry the case in its intended orientation.
- Review the surface, cut quality, layers, color and branding.
- Confirm packing method, labels and any required documentation.
- Link the approved sample to the final drawing and written specification.
What to include in a quotation request
Send the product and case dimensions, product weight, estimated quantity, target schedule, color and branding needs, packing requirements and destination. State whether you need material supply only, a finished insert, case bonding, assembly or individual packaging.
Frequently asked questions
Can an insert be developed from a physical sample?
Yes, a physical sample can support measurement and fit checks. An approved drawing or recorded specification is still useful for repeat production.
Can logos or graphics be added?
Available options depend on the material, surface and artwork. Confirm the proposed method and appearance during sampling.
Is a prototype recommended?
Yes when fit, case closure, presentation or cushioning is important. Use the actual product and case whenever possible.
Start a Custom Insert Project
See our custom EVA foam insert, case insert, review custom solutions, or send your project requirements.